
Impreza Engine Replacement - Part 2
Part 2 of an N part series where I remove a broken engine and prep to replace it

This is part 2 of a series, if you want to catch part 1 click here
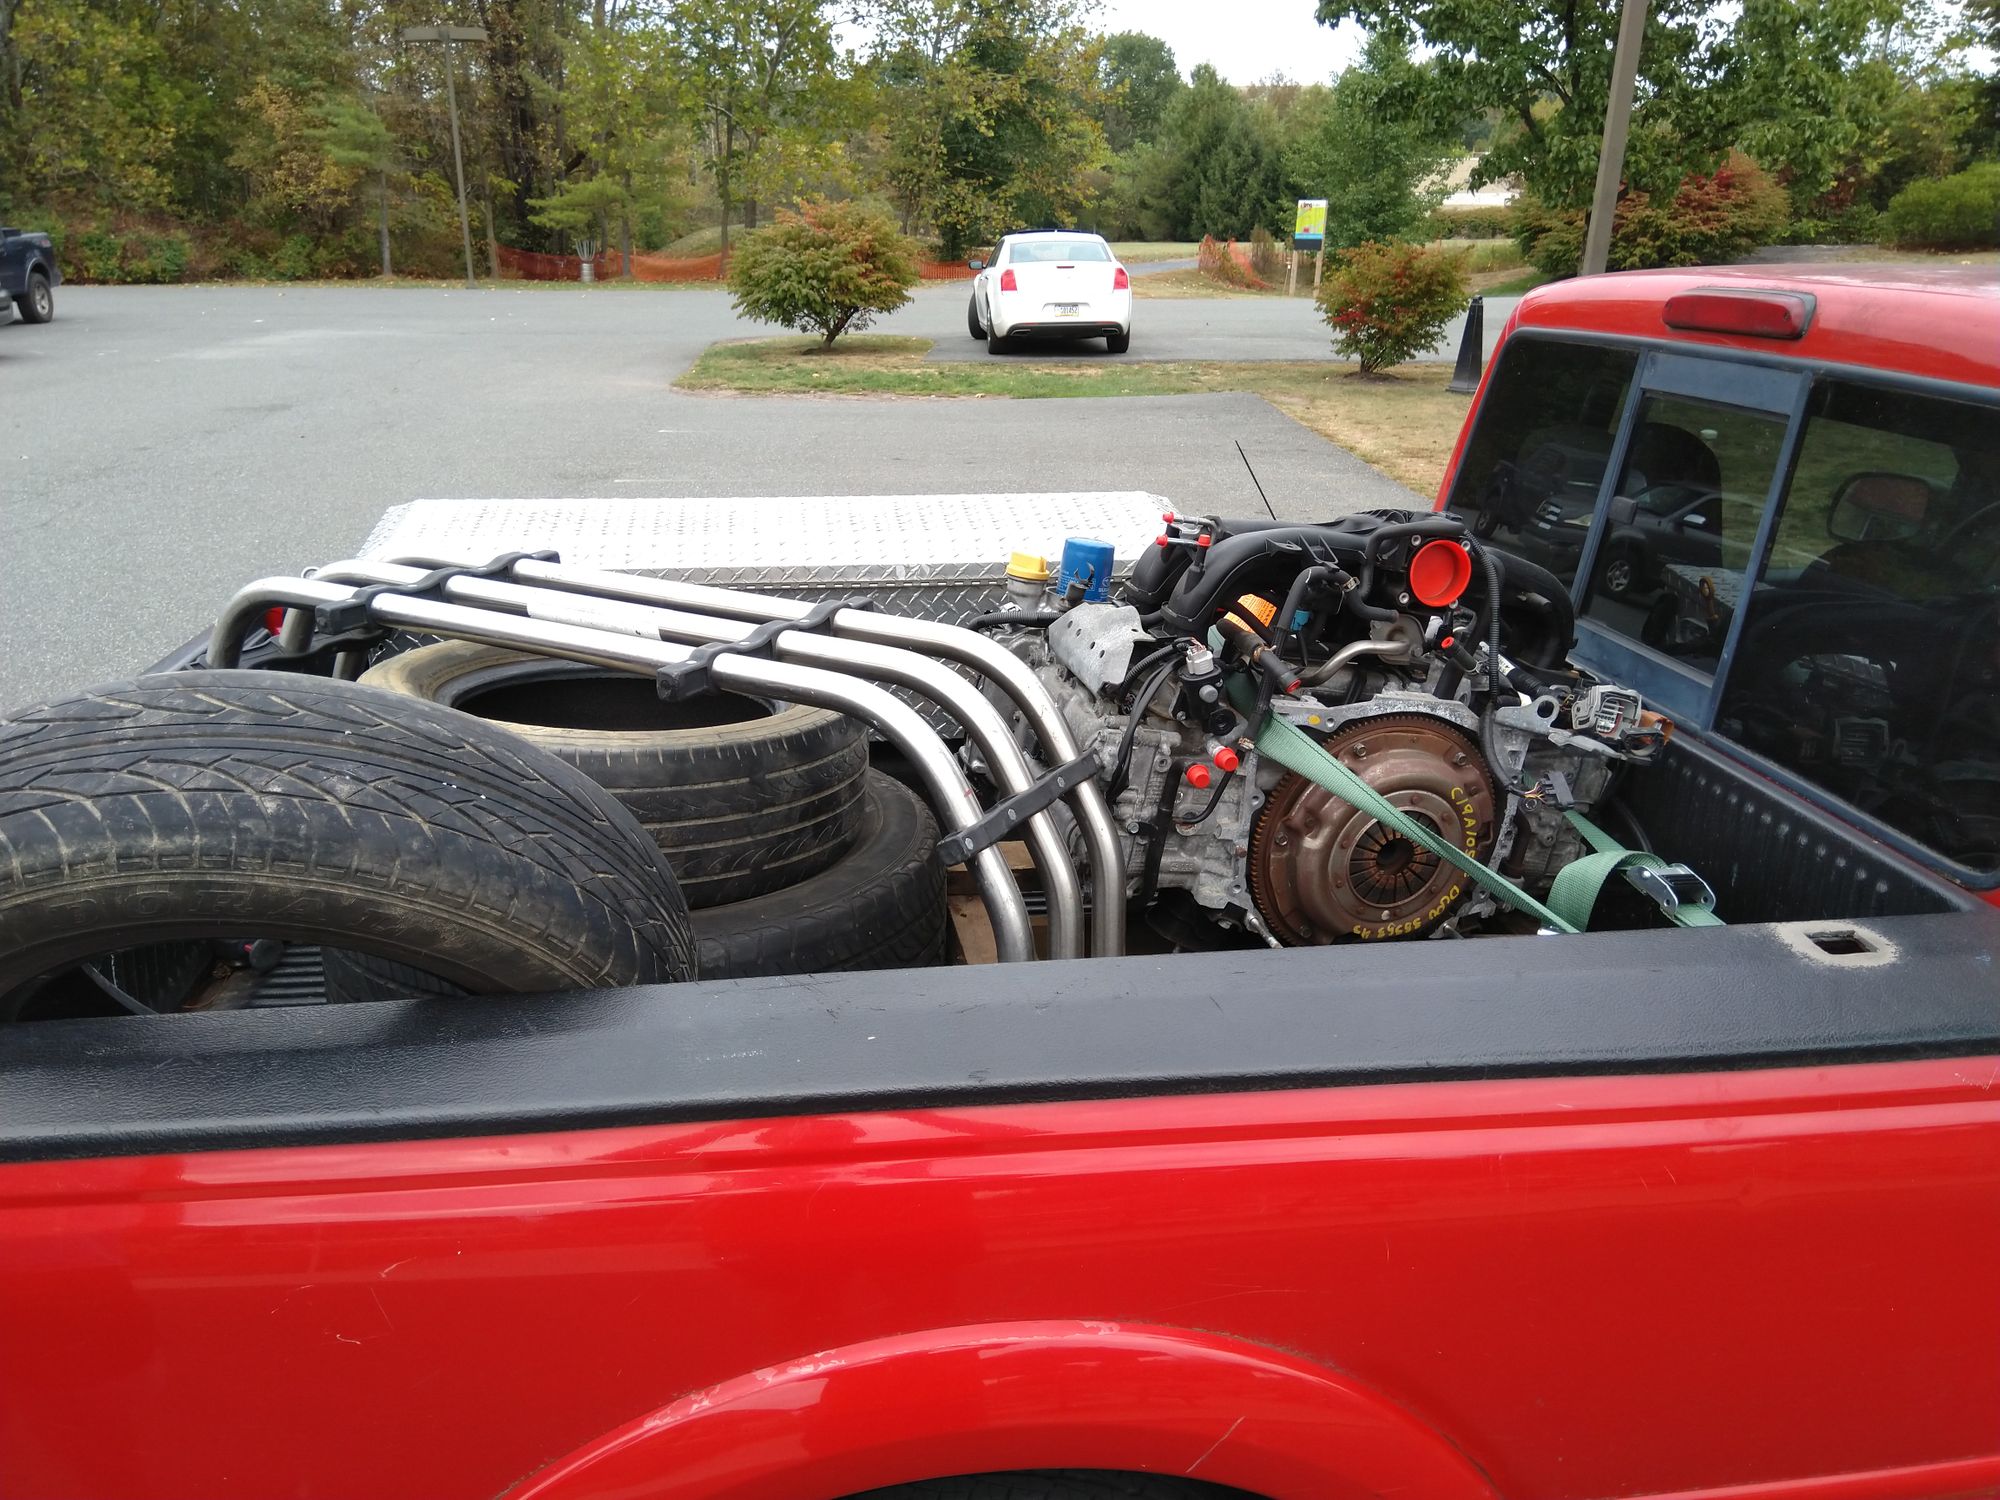
This week was extremely exciting for the Impreza project. To be perfectly honest, it was an exciting week for myself as well! I picked up a used engine from an auto salvage yard which really made me feel like I was making some major progress toward actually completing the project. One of my good friends owns a Ford Ranger and was willing to let me borrow his truck to make the pickup and delivery from the salvage yard to my parents house.
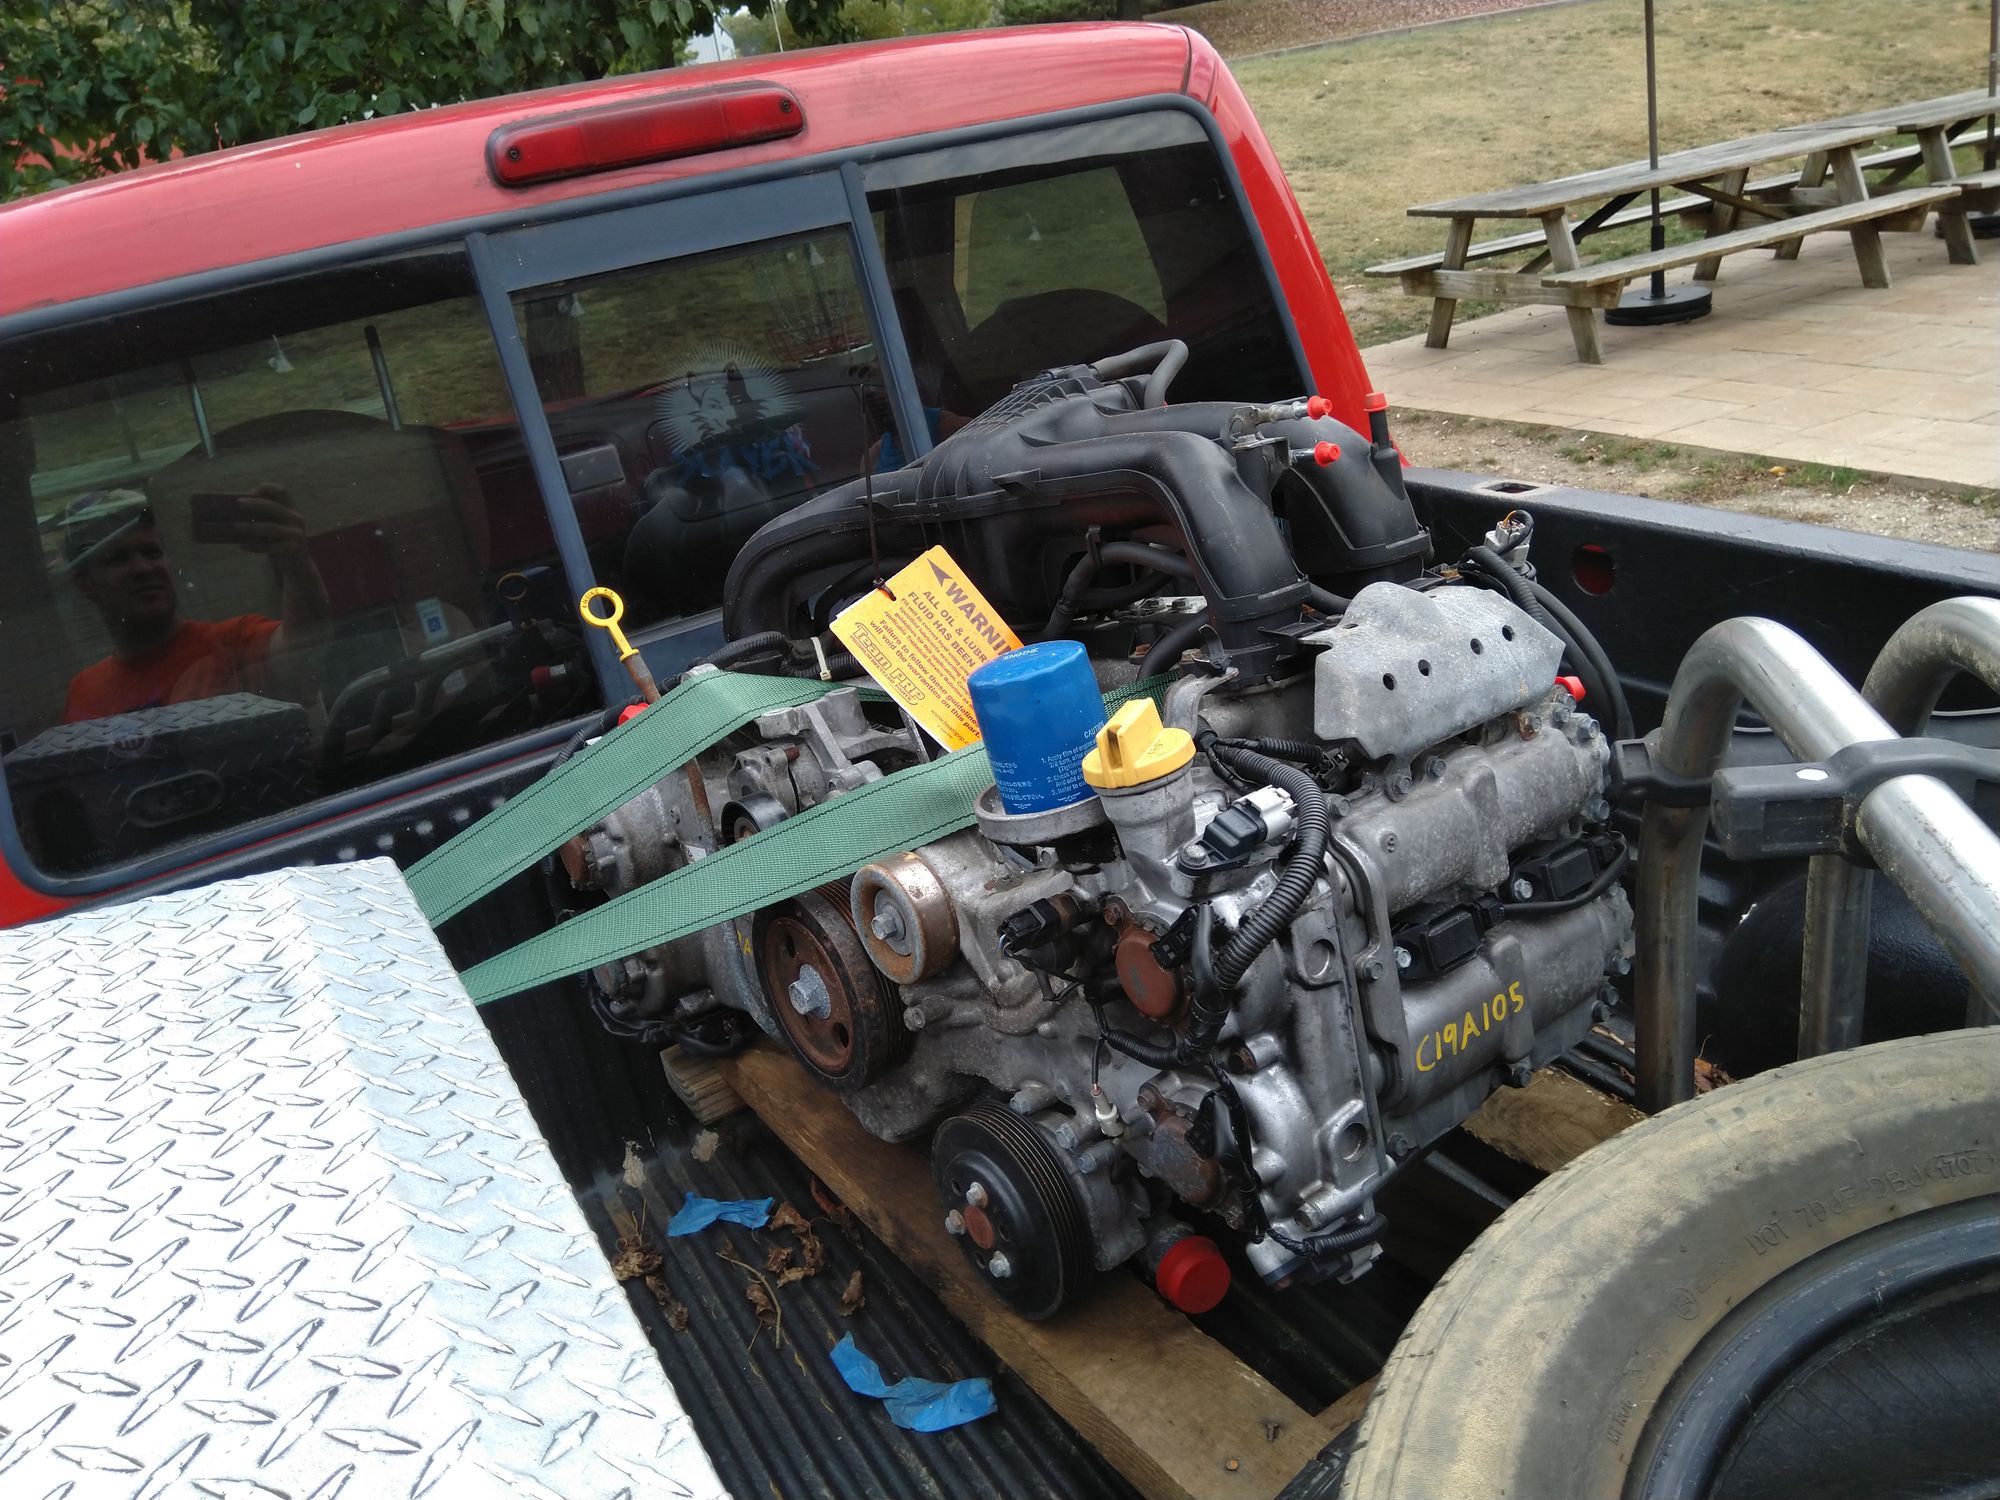
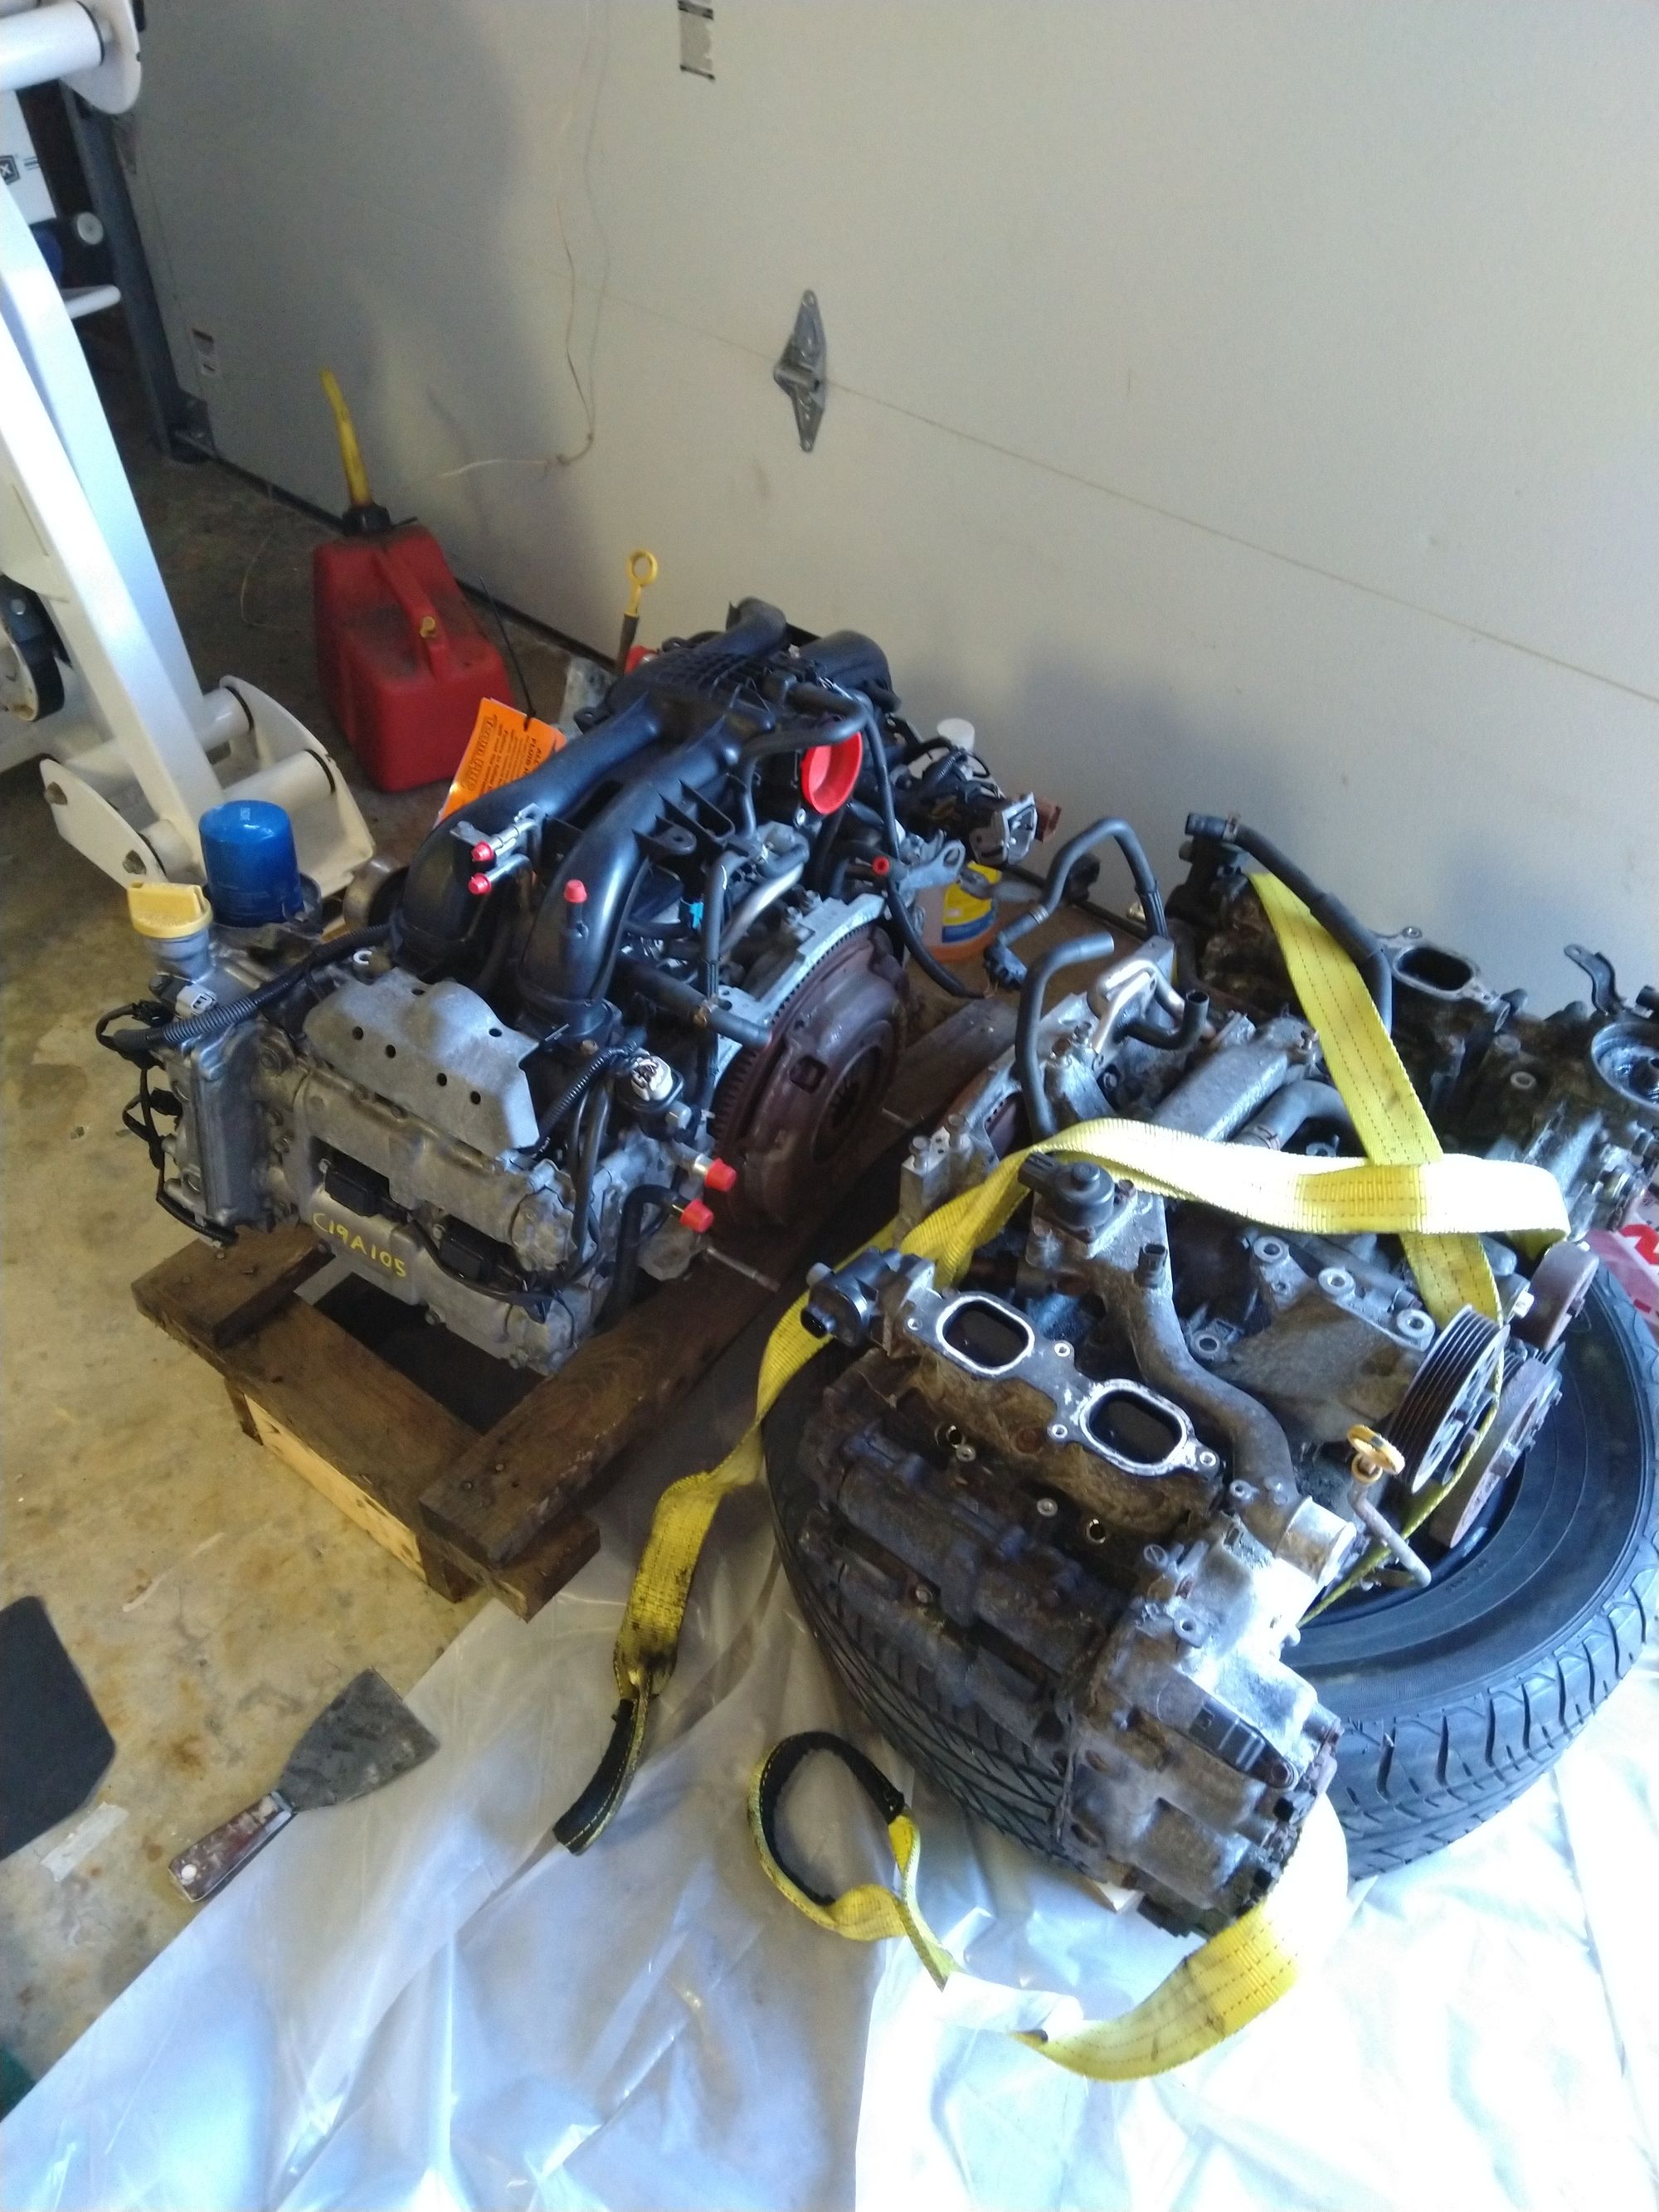
The engine came with a lot more on it than I was anticipating. It still has the fuel injectors, intake manifold, spark plugs, and ignition coils. This should all be in relatively good shape and I plan on re-selling most of it on eBay to make back a good portion of the $800 engine.
Engine Removal
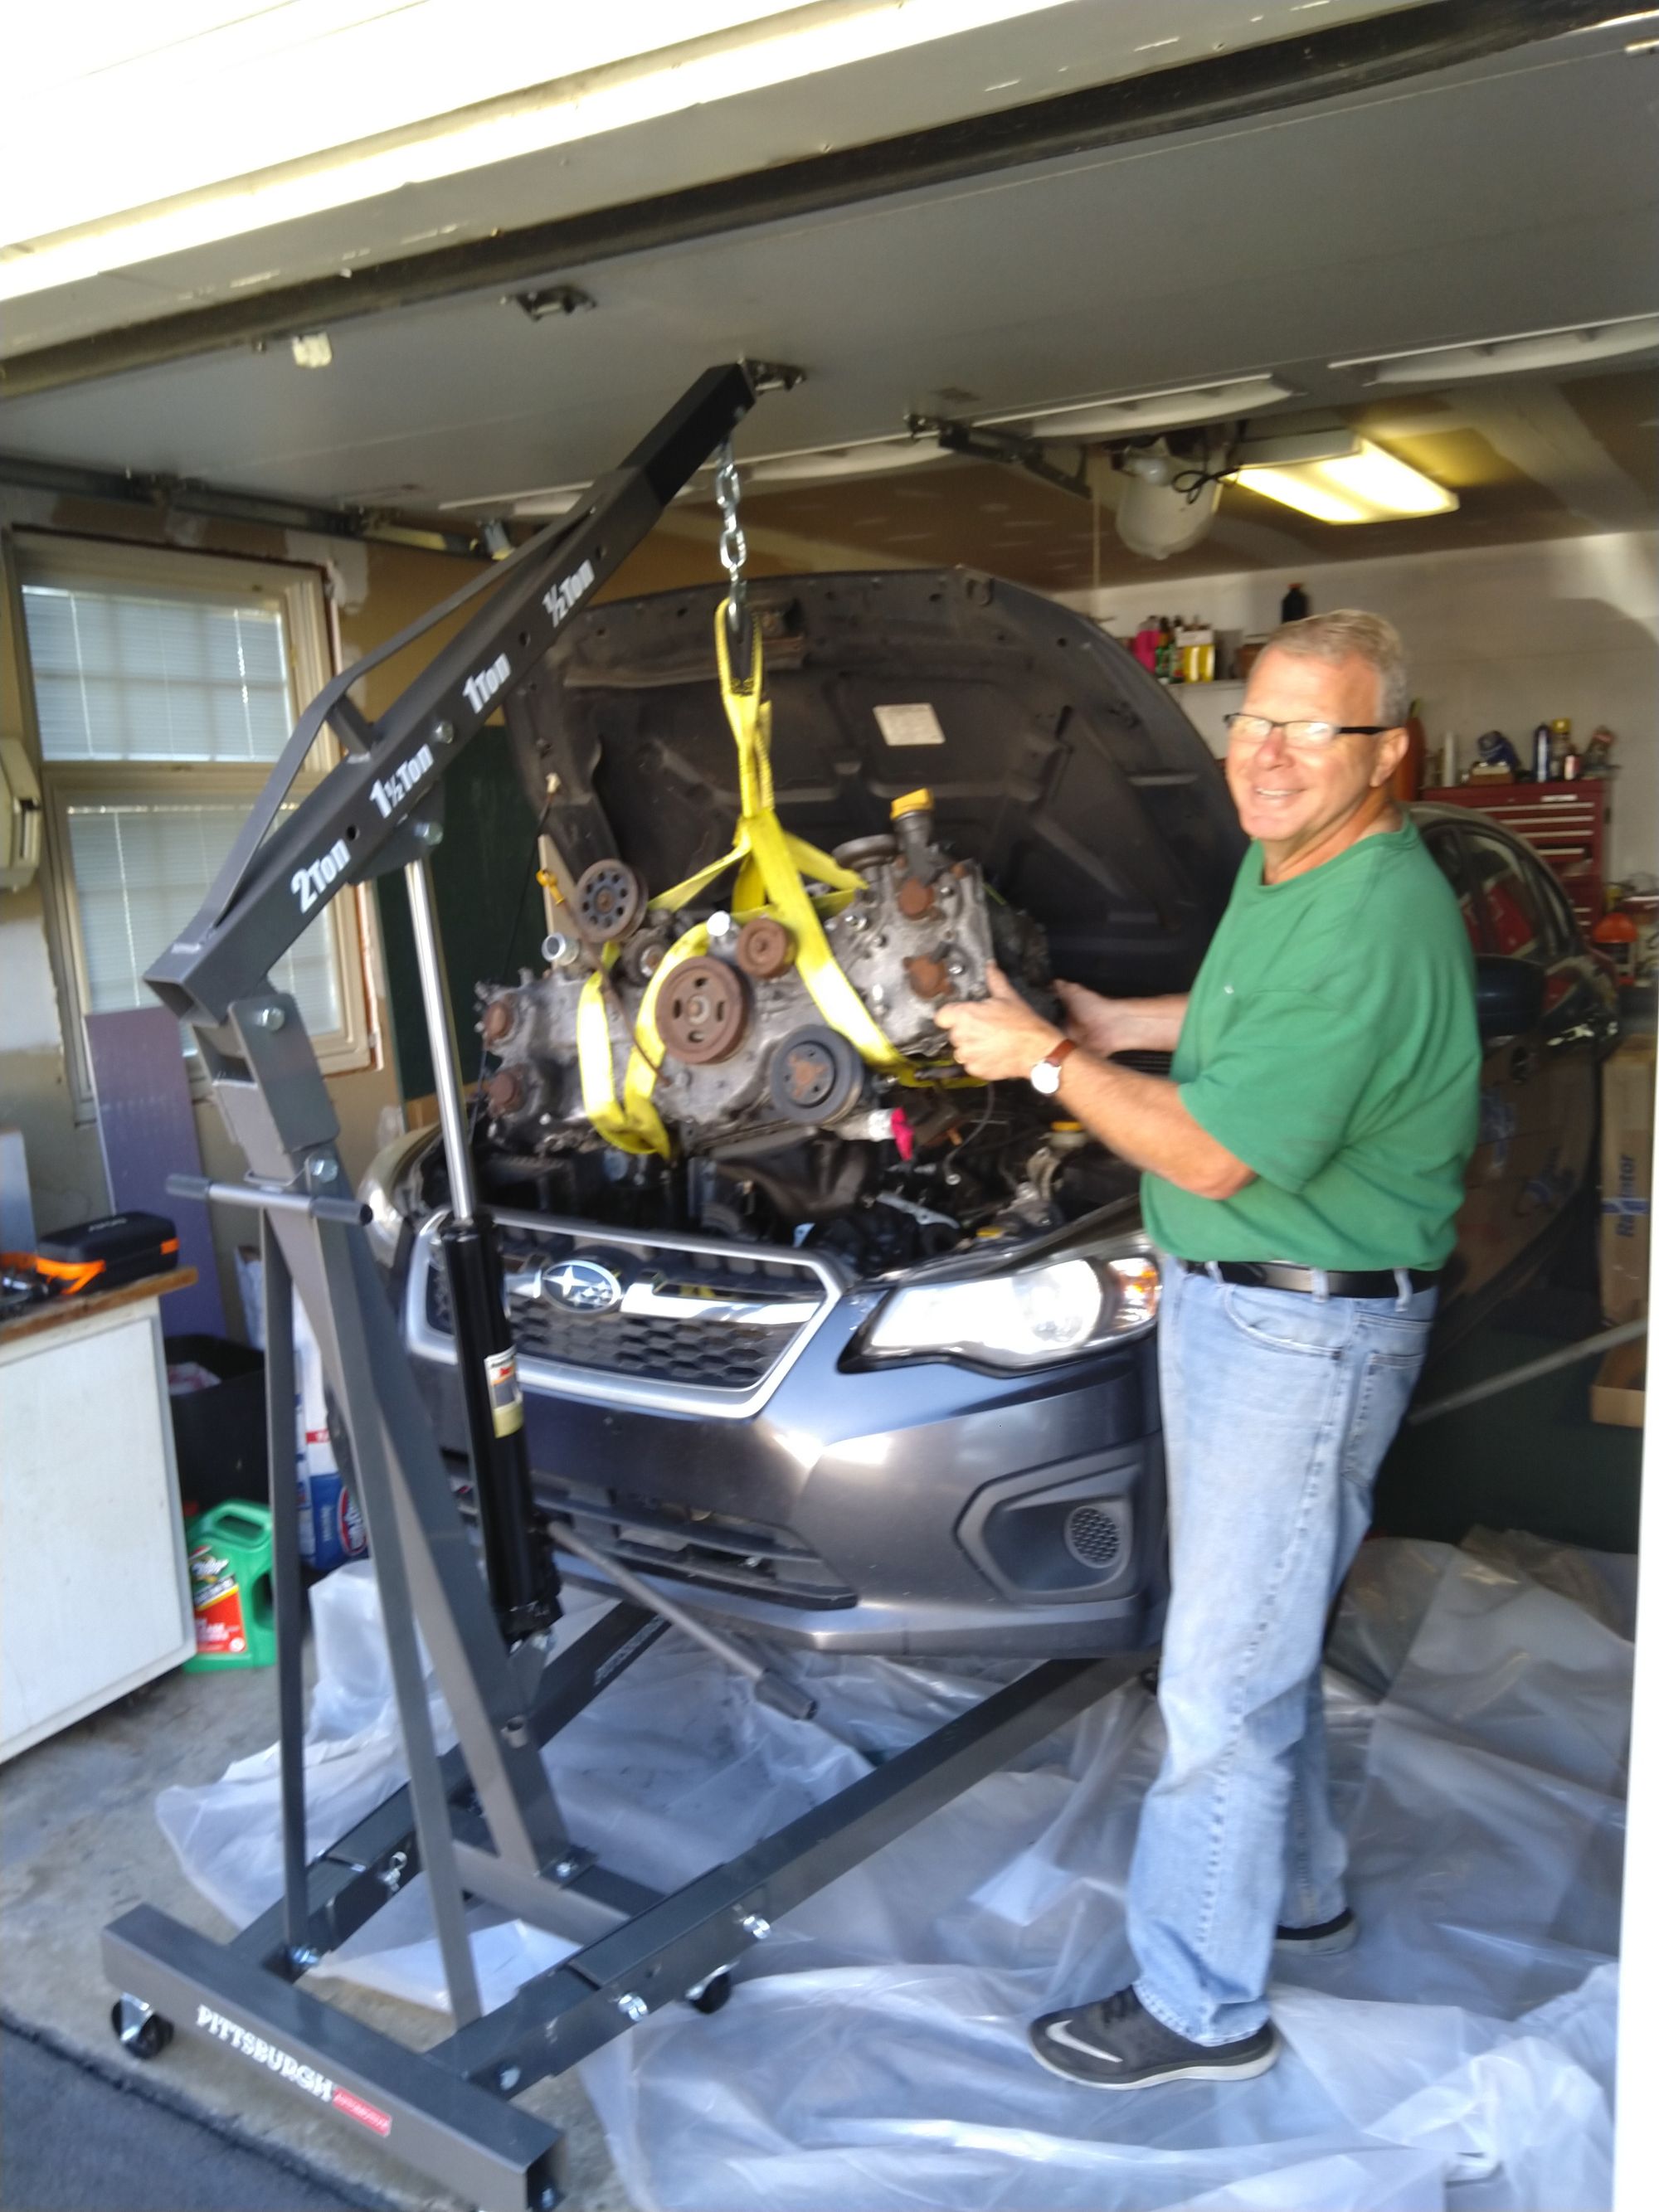
Time to take out the old busted engine! I purchased an engine hoist from Harbor Freight for a fairly reasonable price using one of their "20% OFF Super Coupons." First item of the day was to get that assembled. I only had a few minor missteps during assembly, forgetting to attach the handle before bolting in the supports, and tightening up the main hoist support prior to the side supports. But, after some tightening then loosening, and then re-tightening and re-loosening, I was finally able to get it all bolted up and ready to take out an engine.
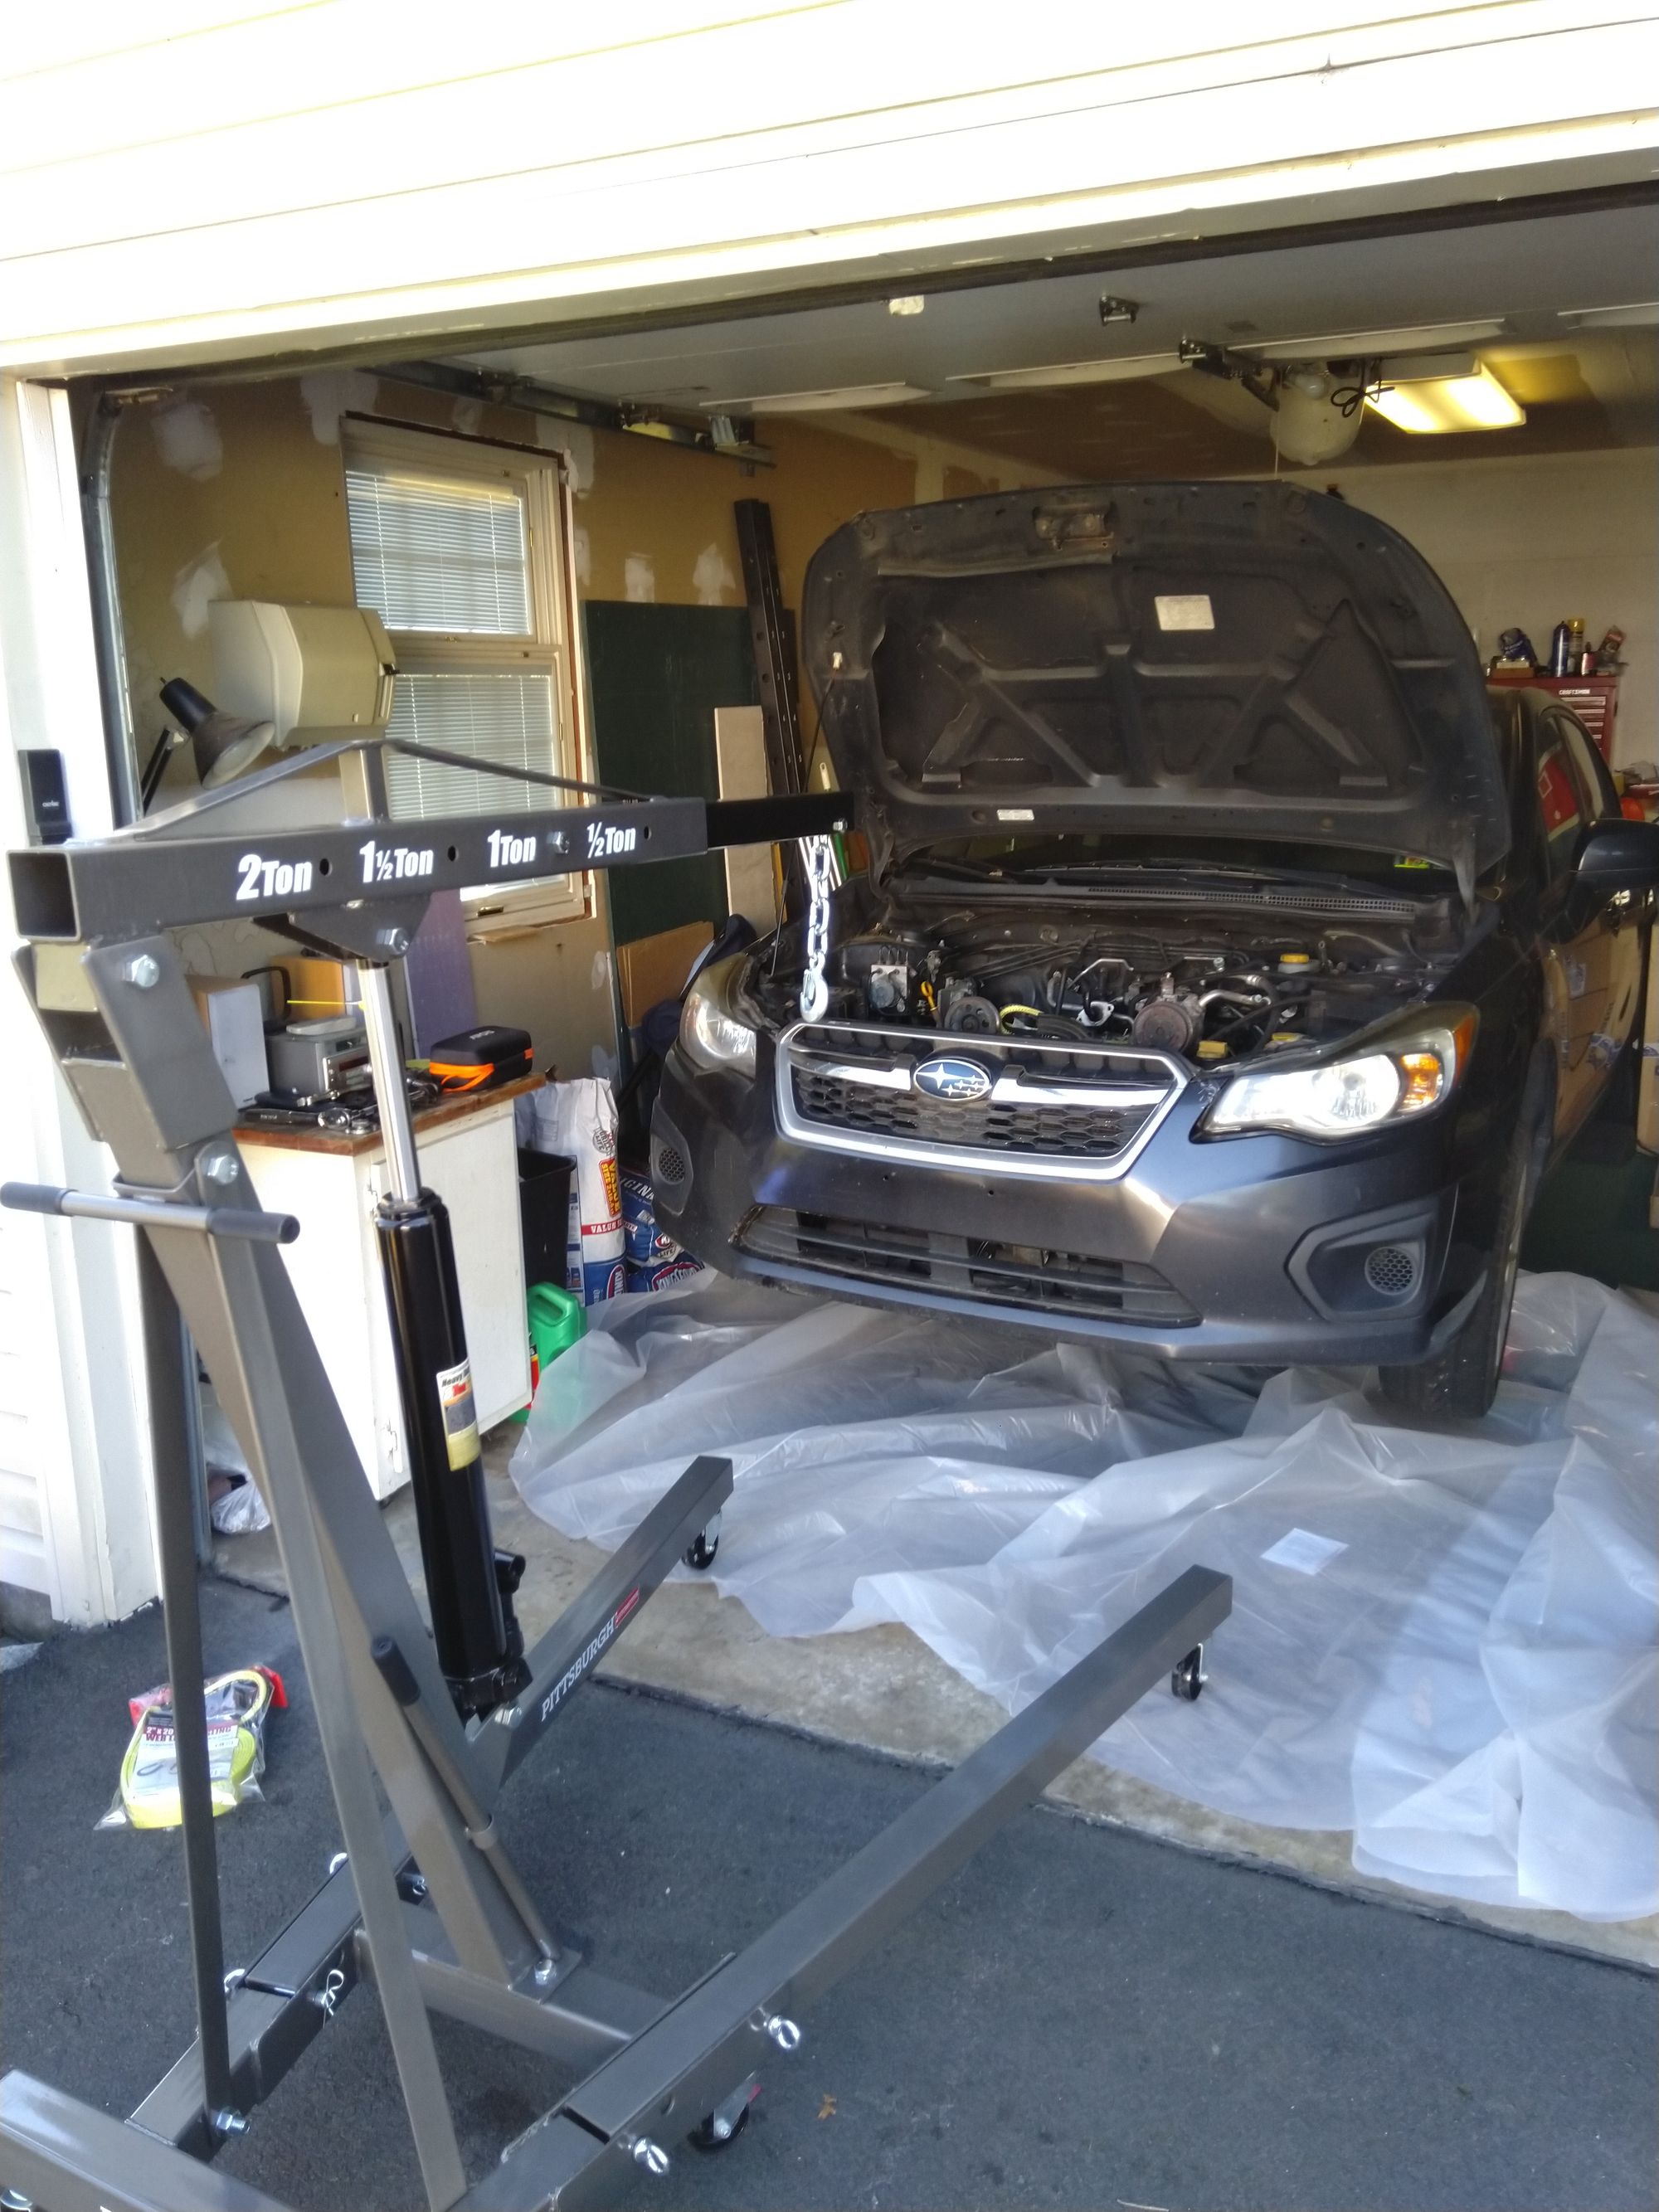
I then removed the radiator fans and radiator to give myself as much forward space as possible. Then I proceeded to wrap the engine with a lifting sling. It was much longer than I anticipated (20ft) but I was able to wrap it around the engine twice and then tie it around itself at the top to reduce the amount of pressure the straps would put on the engine.
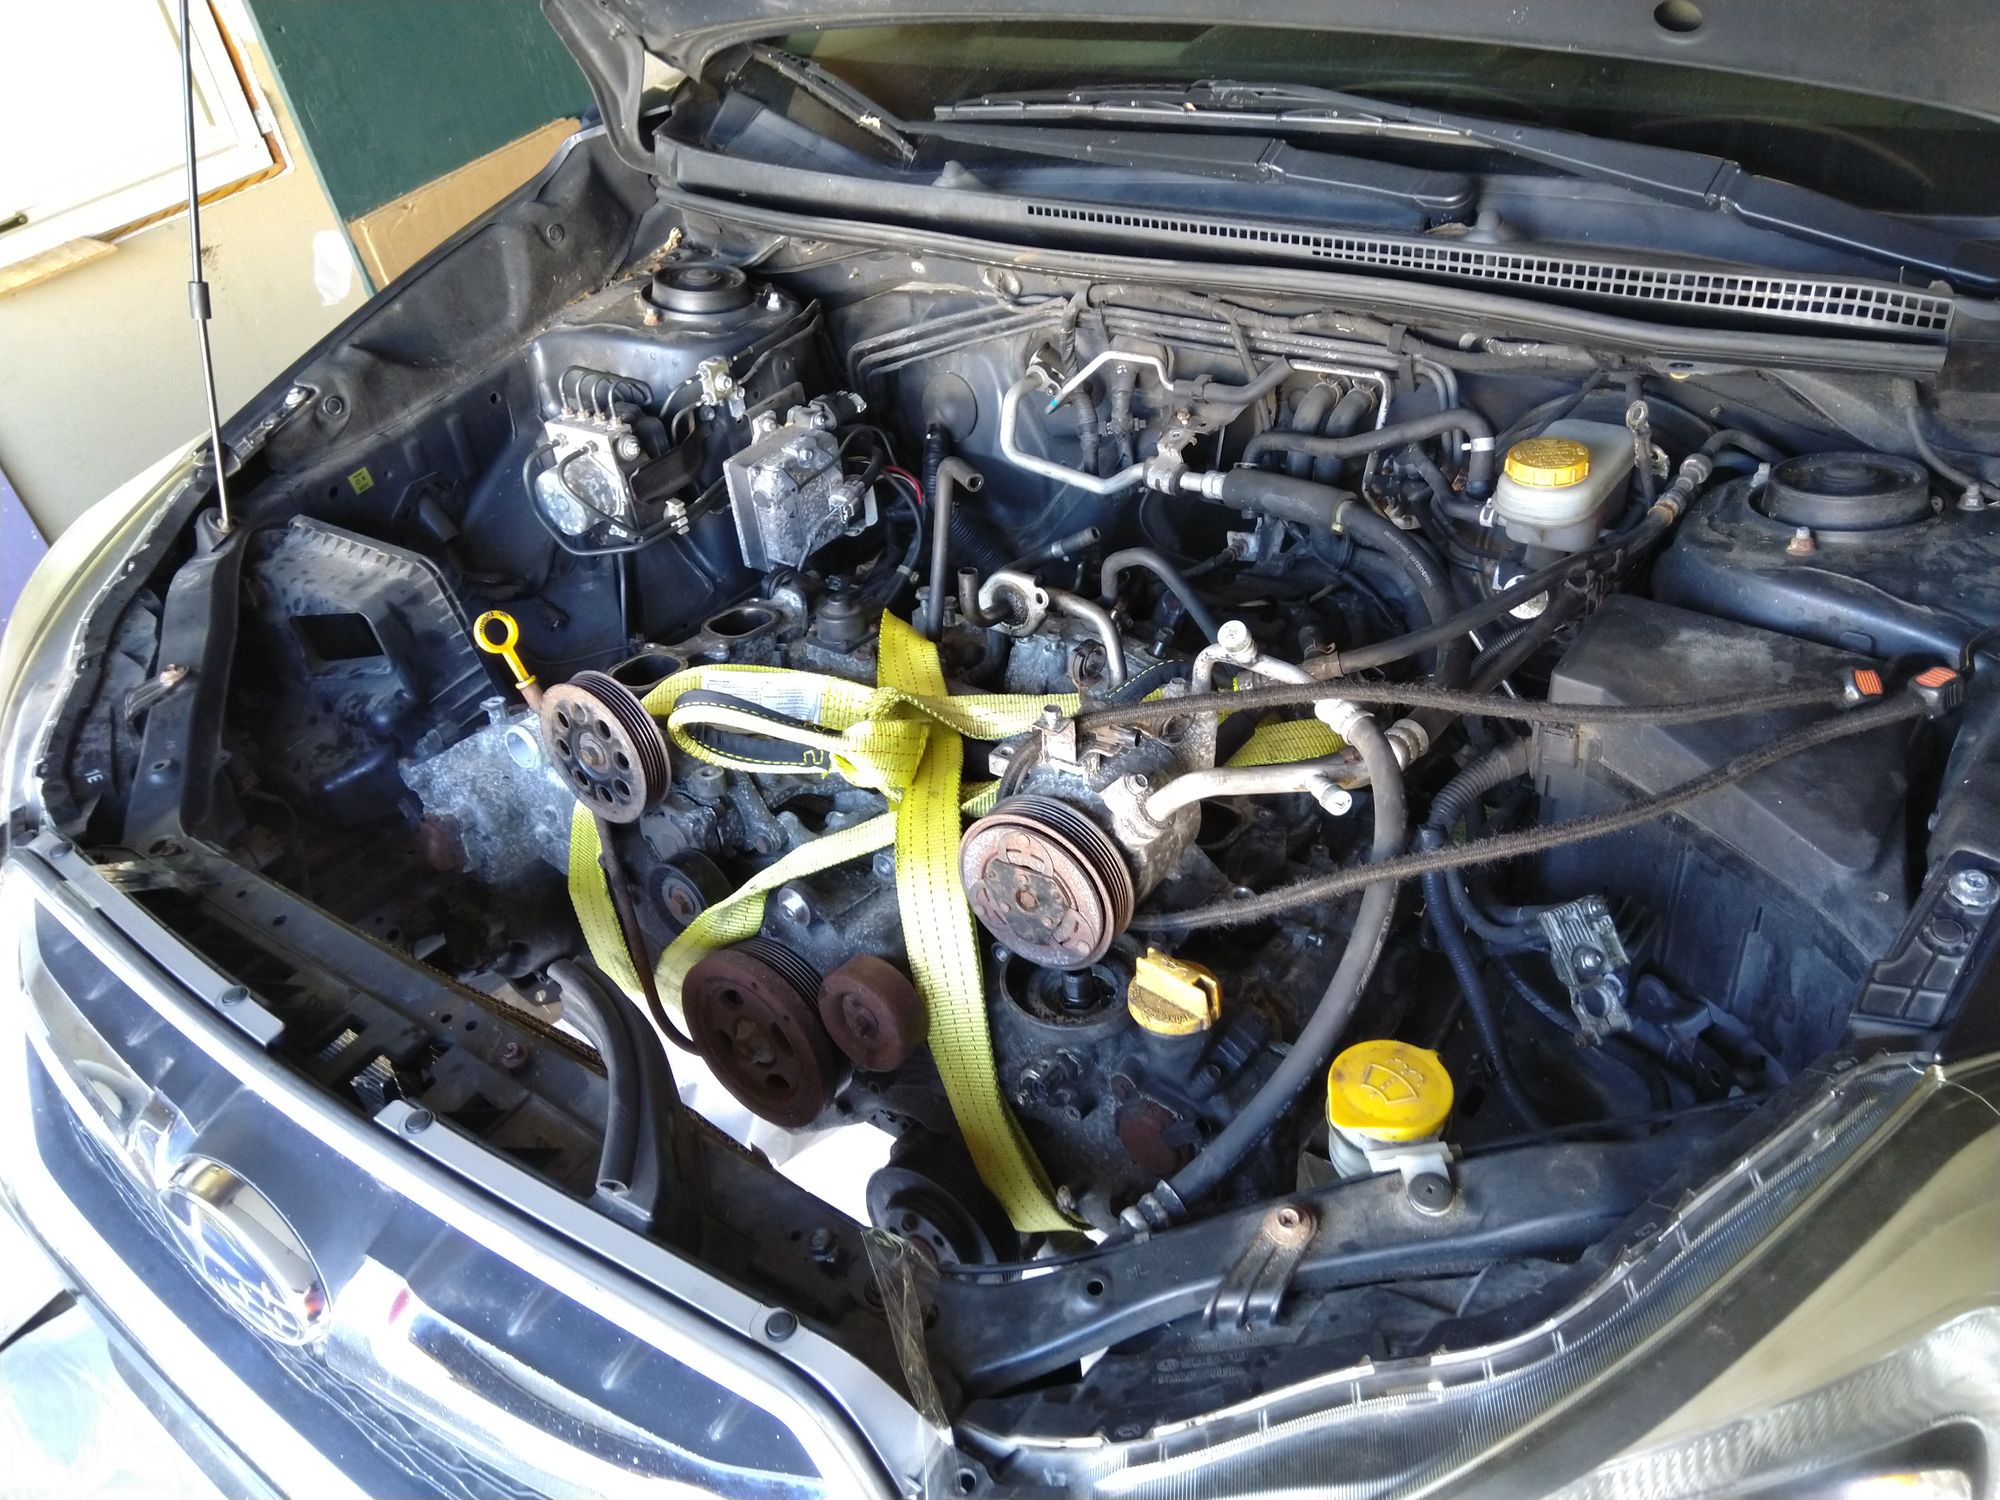
Now for the fun part, getting this thing separated from the transmission. I had hoped I would just crank up on the lift and the engine would release and that would be all she wrote. It turned out to be almost that easy but there was a lot of head scratching that led up to the final separation. I first tried just pulling and jostling the engine with it lifted out of its mount, no luck. Then I tried getting a putty knife in between the engine and transmission, still very tight. I then pulled out the Factory Service Manual (FSM) and re-read all the steps for engine removal to double check I hadn't missed anything. I had not missed any of the preparatory steps, but I did read that I should jack up the transmission so that it did not come crashing down once separated. While doing that I got an idea that I could jack up the transmission and then lower the engine a bit to let the weight of the engine do some of the separation work for me. This worked perfectly! I saw a small gap open up in the top of the engine. I then lifted the engine and with me pulling on one side and my dad pulling on the other we were able to wiggle the engine loose.
I lowered the engine onto a used tire that I got off a local mechanic. It makes the other used engine next to it look brand new.
Cleanup
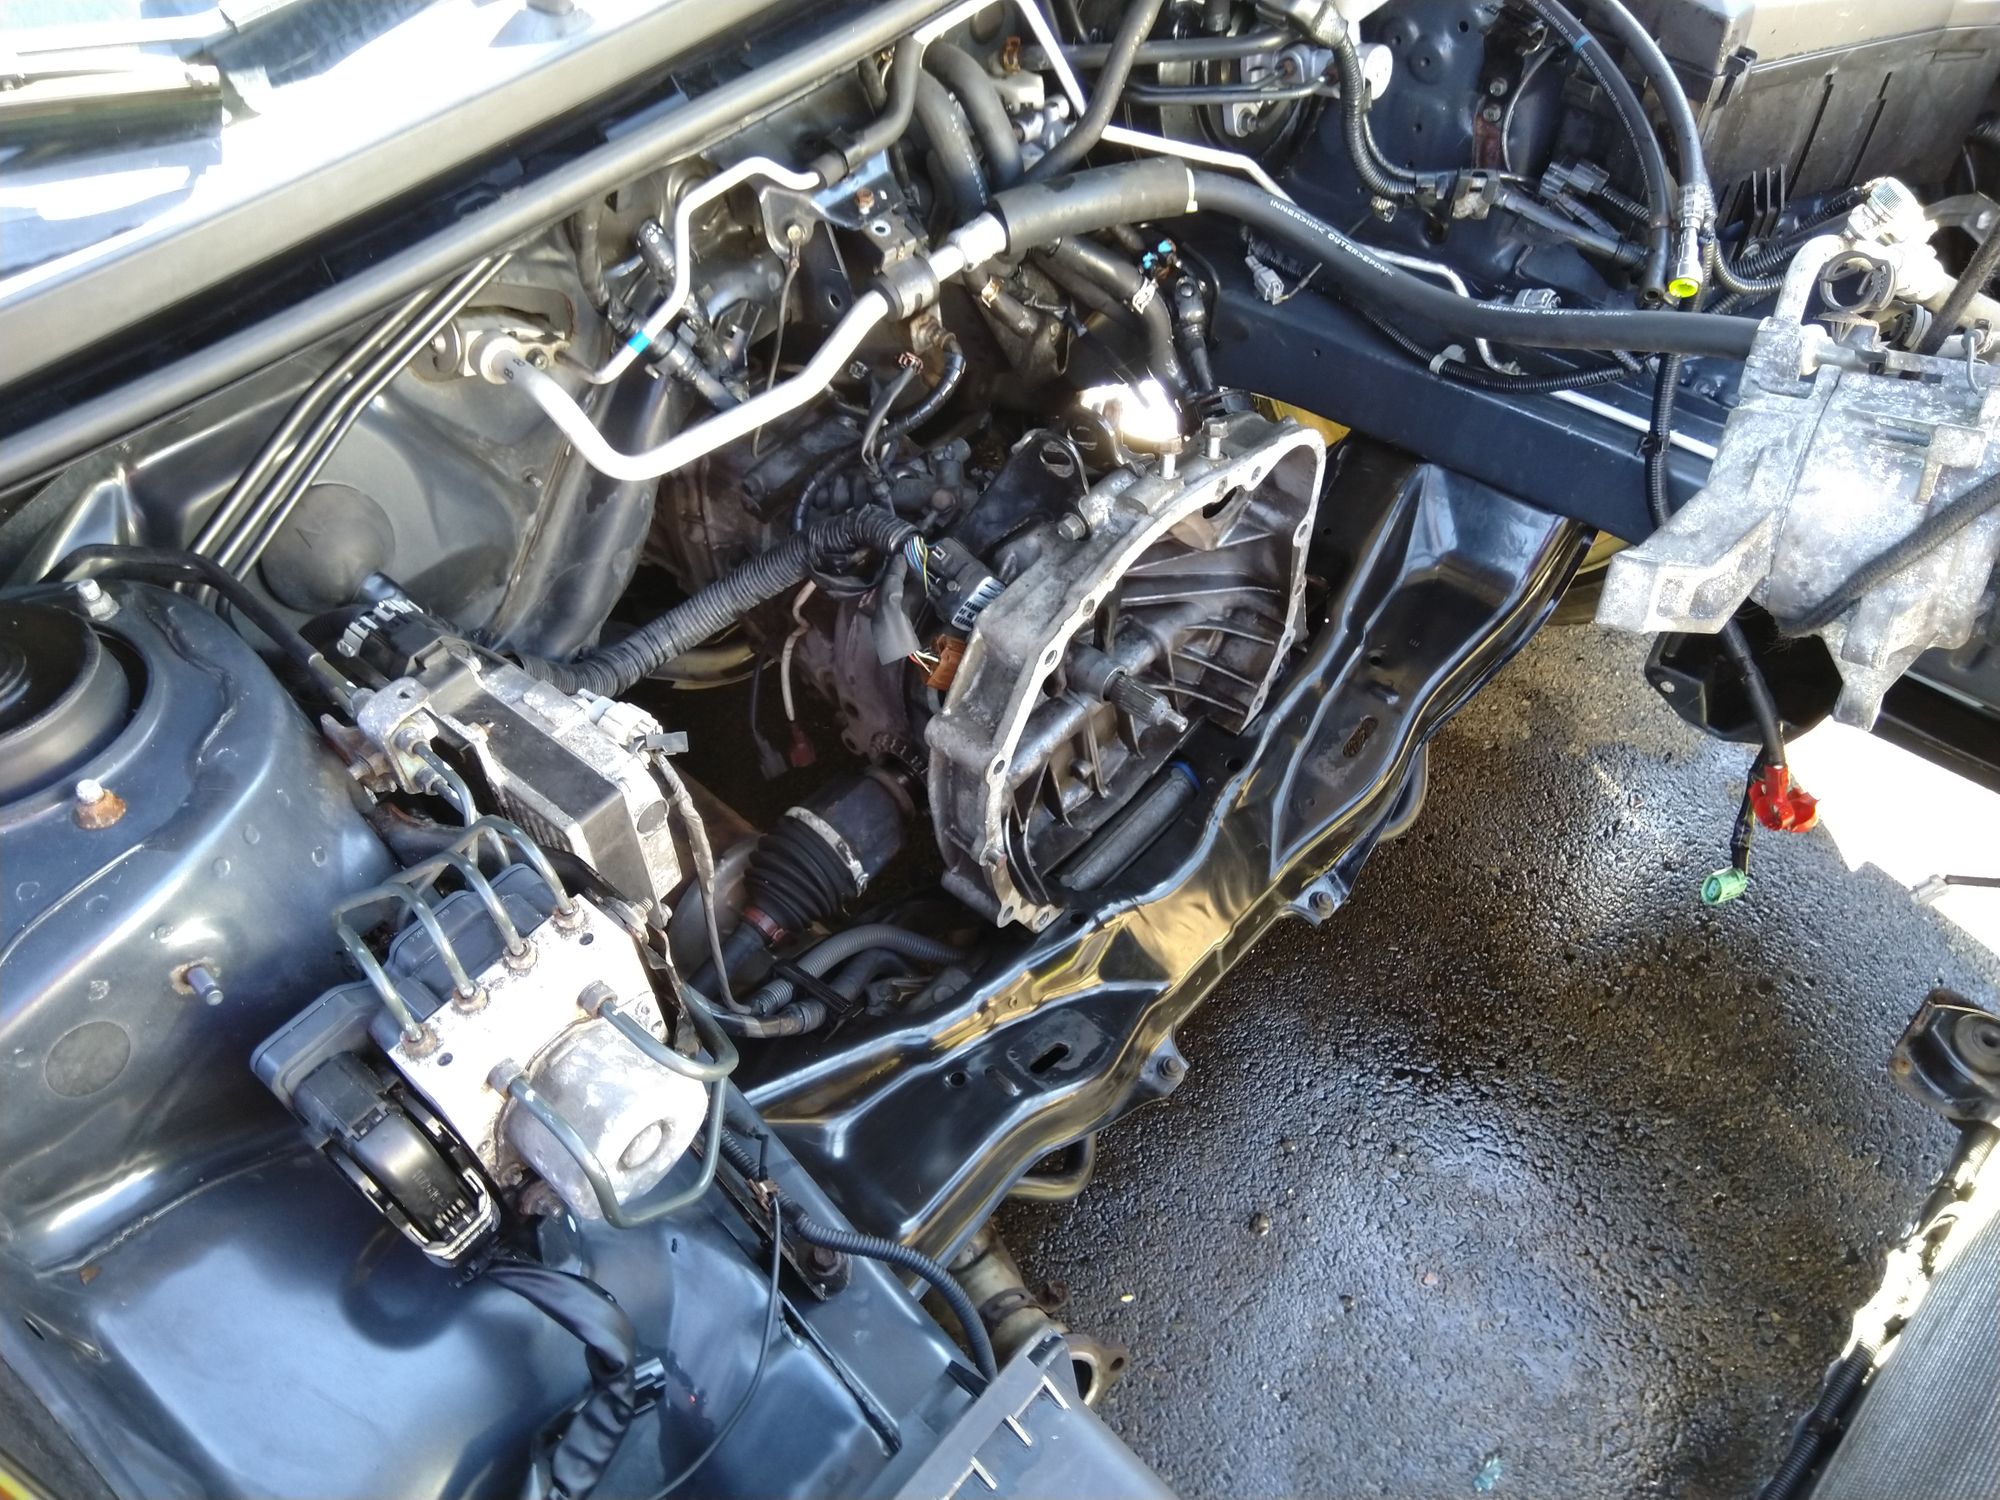
After pulling the engine, I realized just how much dirt and grime had built up over 7 years and 150,000 miles.
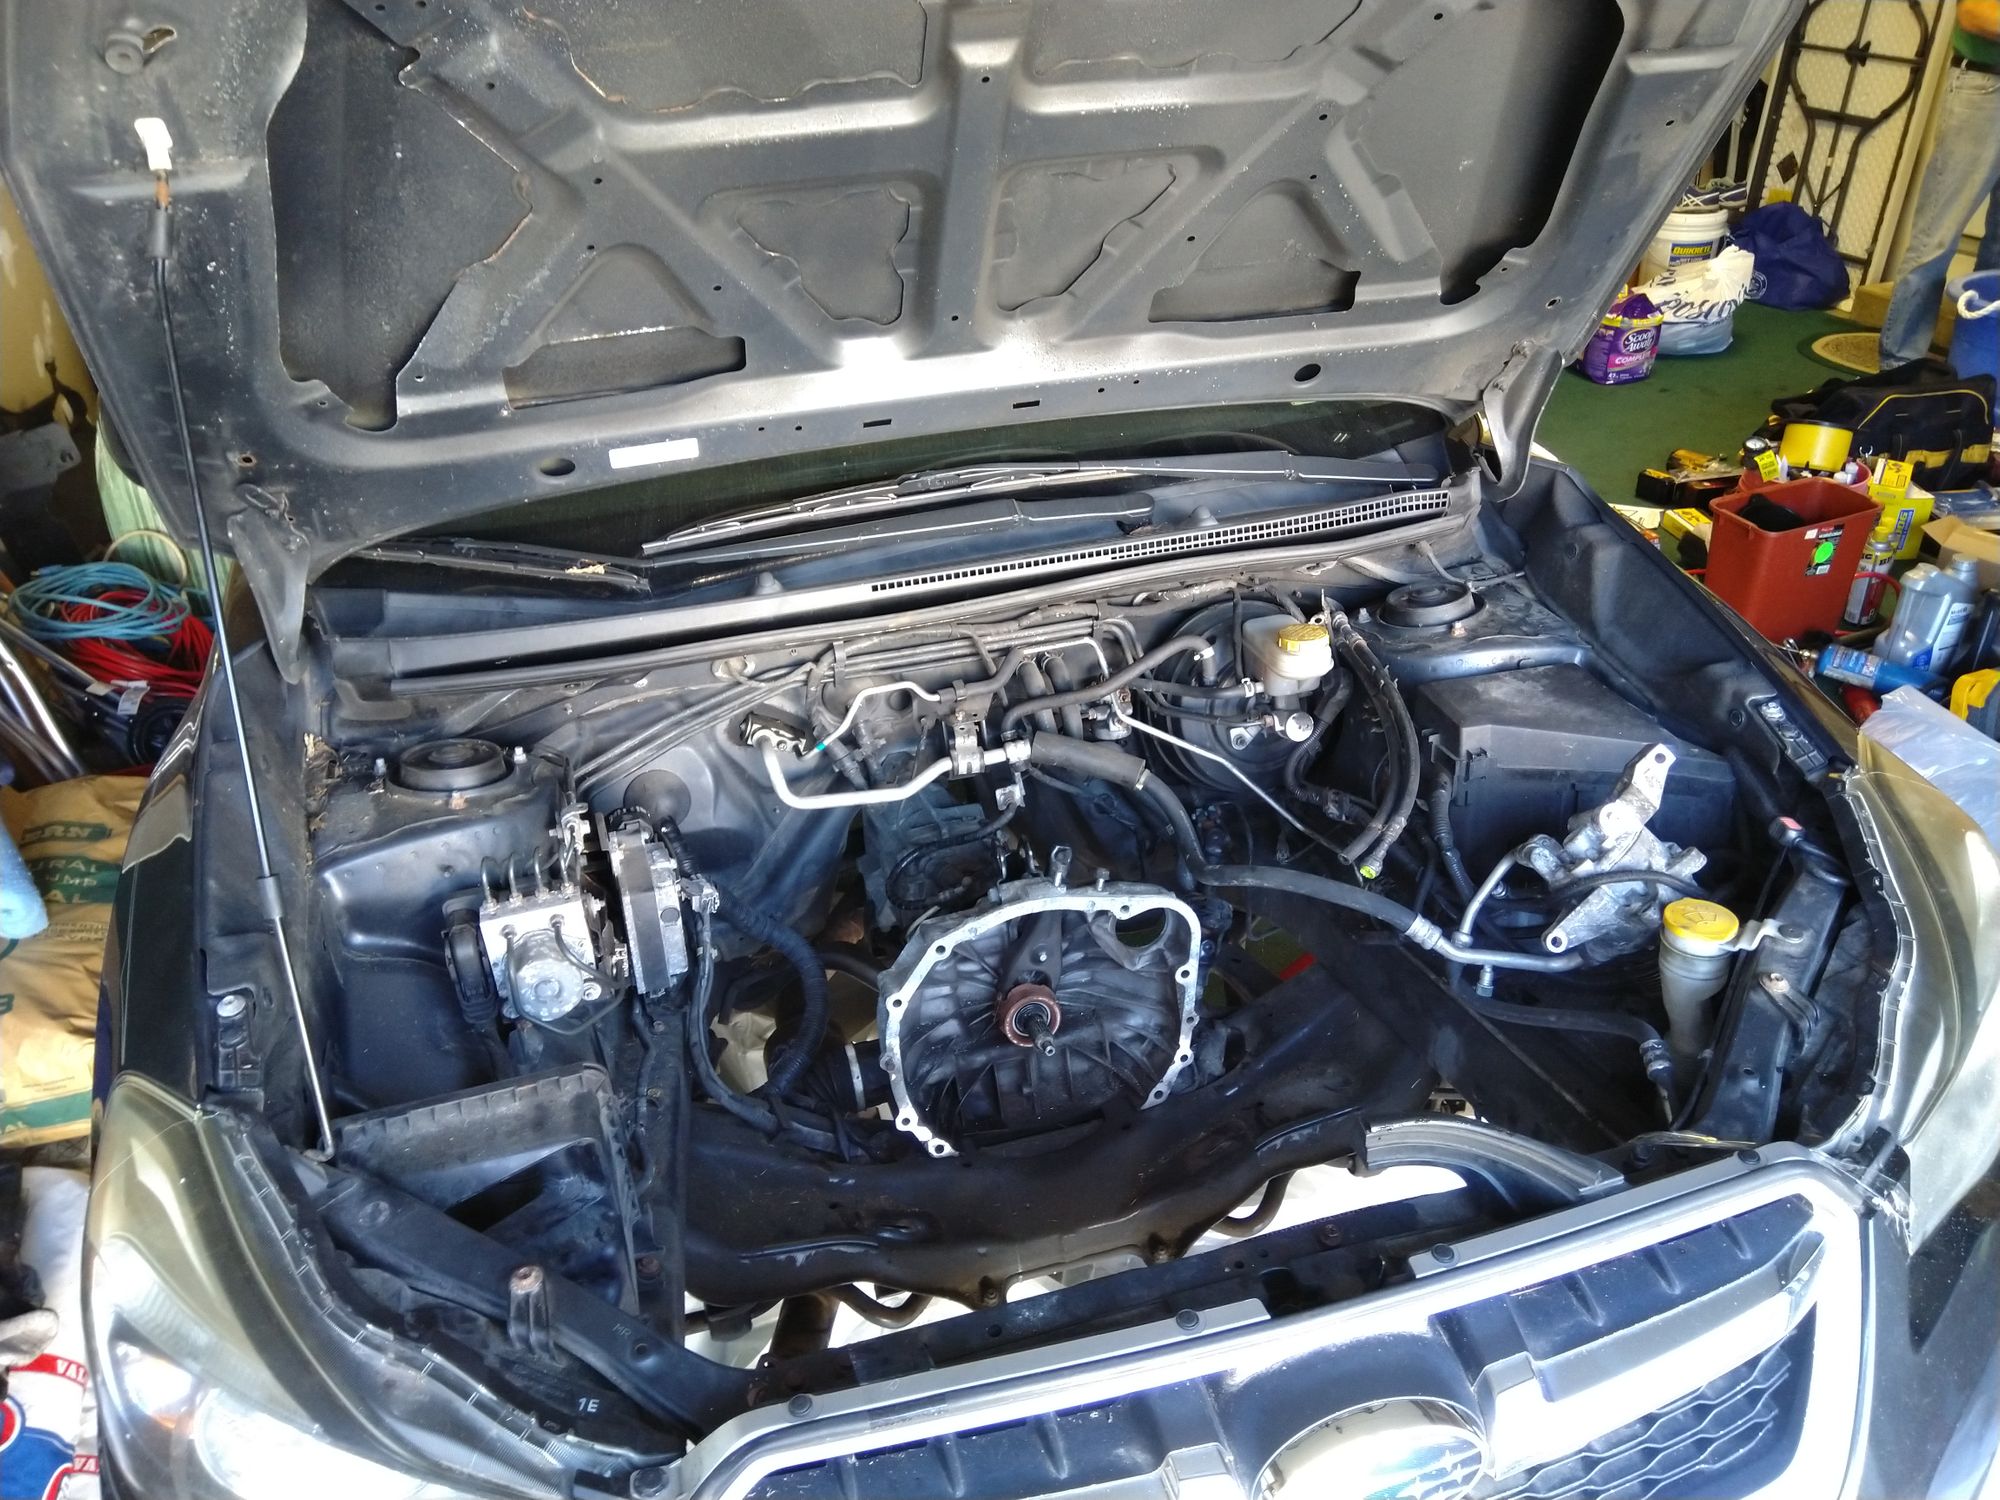
I covered the ECU with a plastic bag and hung the AC compressor from the hood (also wrapped in a bag) and sprayed down the engine bay with the power washer, then sprayed degreaser over every last nook and cranny. After letting it sit, I ran the powerwasher again and then hand dried with some rags that were laying around. The results were extremely pleasing for a 15 minute wash.
All of my parts have arrived, I just need to buy some fluids and we should be on track to get the new engine prepped for install next week.
Part 3 here